Add Groups and Columns in Report in Salesforce:
| Read Before Proceed: How to Create a Report in Salesforce |
(1) In this blog, we will learn how to add groups and columns in the report in Salesforce.
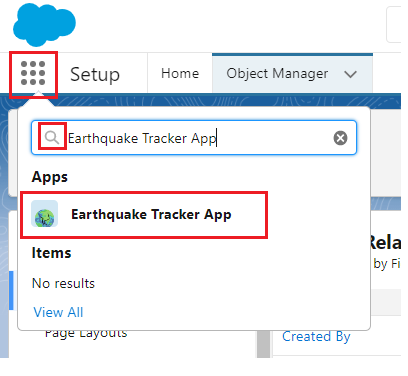
(2) On the Salesforce setup page click on the app launcher and search for the app for which you have to create the report. In this example, I have selected Earthquake Tracker App to create a report as shown below.
(3) Now Earthquake Tracker App is getting opened. Go to the Reports tab and click on New Report as shown below. Note: You can also add Groups and Columns in the Existing Reports by simply clicking on the Edit button.

(4) In the Select a Report Type option, we search for Earthquake Death Count and find the result and click on it as shown below.

(5) After that you see the Start Report button and click on it as shown below.

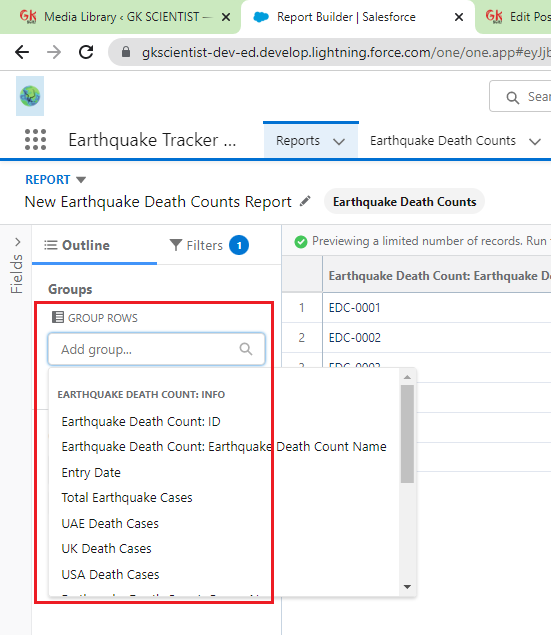
(6) Now you can find Groups and Columns on the left side. You can add Groups and Columns in the report by simply clicking on the search box and you find the list of the drop-down as shown below.
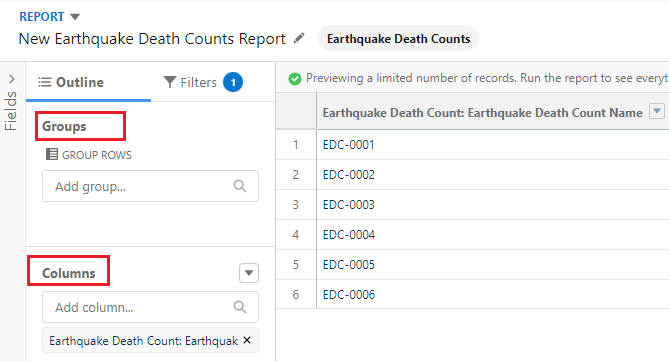
Groups:
Columns:
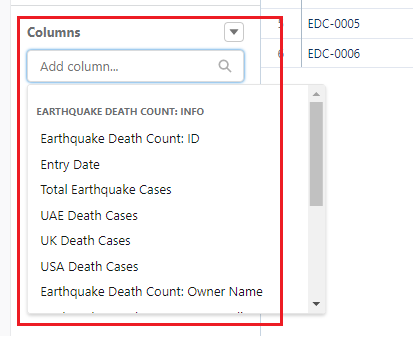
Add Column in Report:
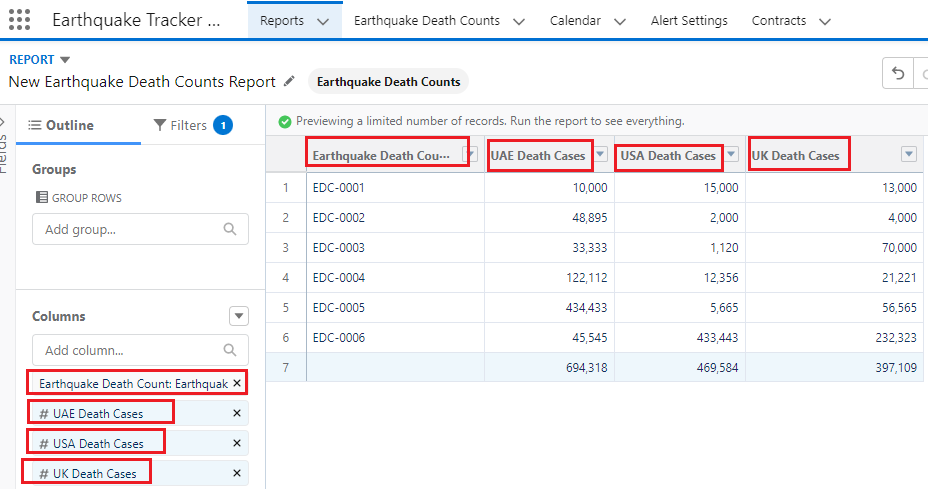
We add some Column fields in the report as shown below. Simply click on the list of items and it will add to the report. You can also change the position of the item by simply dragging and dropping it.
Add Groups in Report:
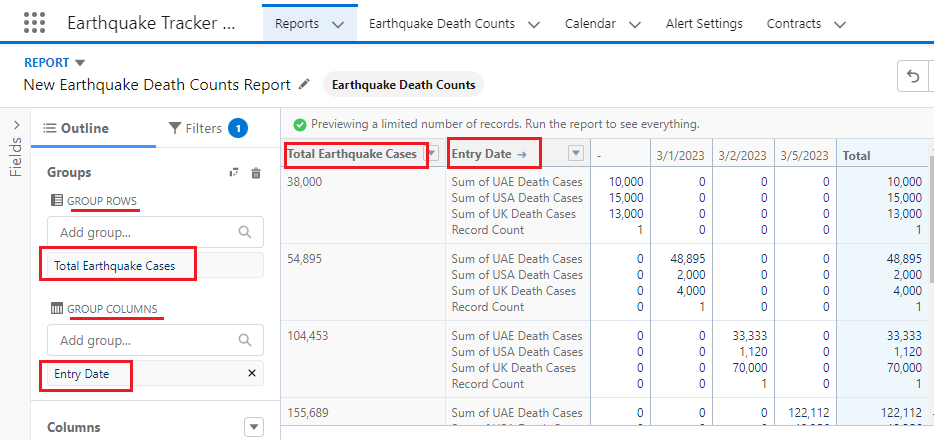
(7) Now click on the Save button and select the folder where you want to save it. In this way, Groups and columns were added to the report.


Comments (No)