Create a New Lightning App in Salesforce and Edit it:
(1) In this blog we will learn how to create a new lightning app in Salesforce from scratch.
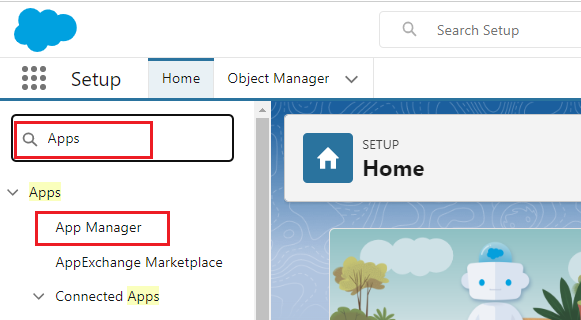
(2) On the Salesforce setup page, click on the Quick Find box and search Apps and select App Manager as shown below.
(3) It opens up the Lightning Experience App Manager Setup Page. On this Page click on New Lightning App as shown below.

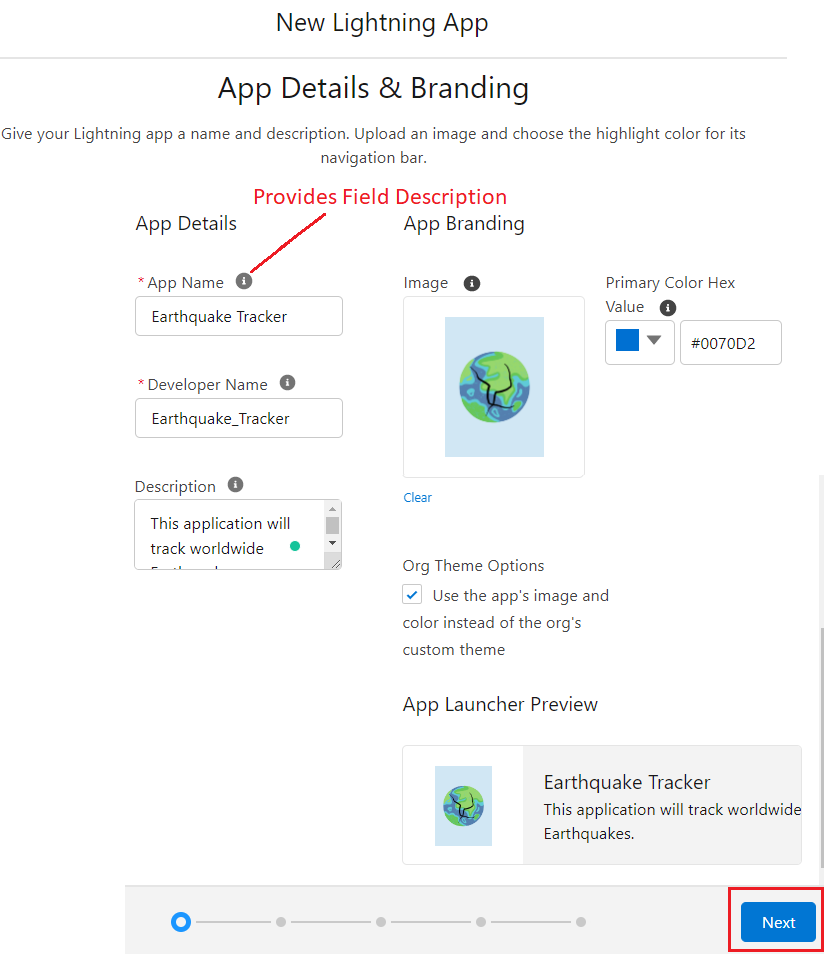
(4) After that the pop-up window opens which talks about the App Details & Branding. Fill in all the necessary information and click on the Next Button as shown below. Note: Asterisk (*) sign represents mandatory fields and it must not be left blank.
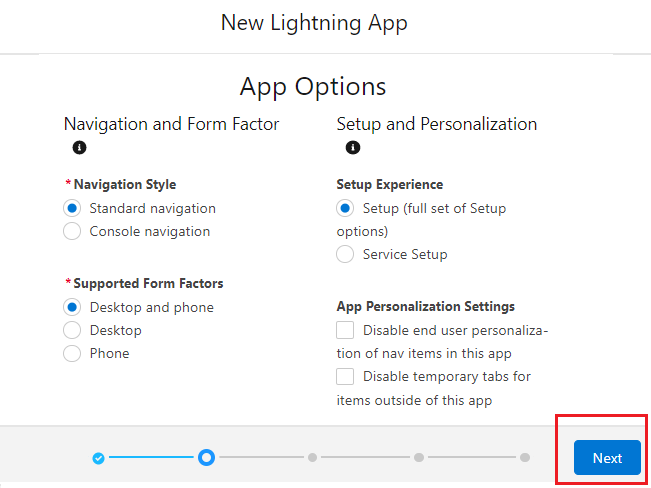
(5) In the App Options, select the necessary checkbox according to your requirement and then click on the Next Button as shown below.
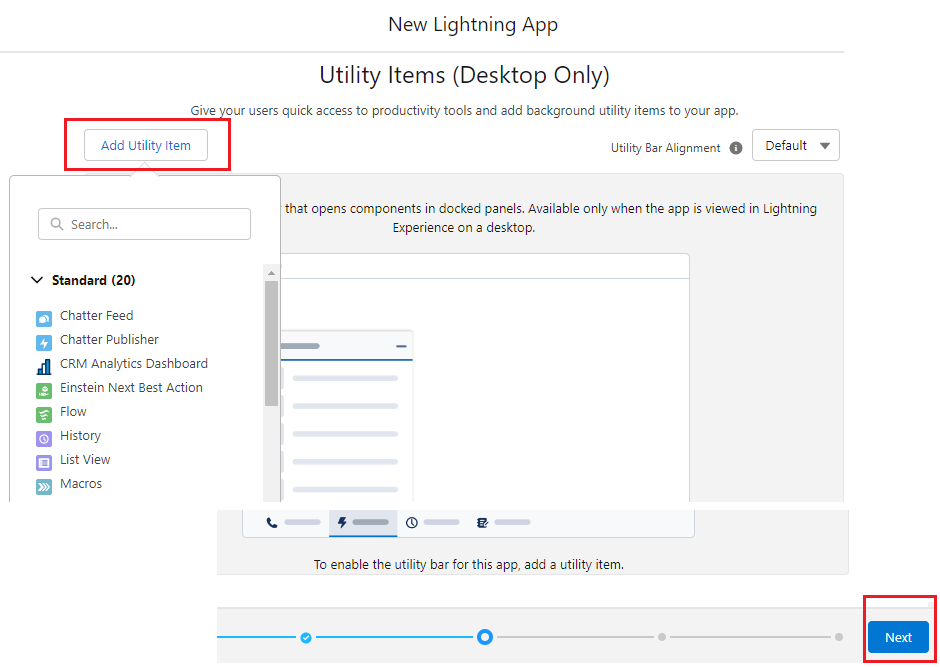
(6) Next is Utility Items (Desktop Only). Utility items are nothing but easy quick actions that you can lock in the footer of your application and if you want to use them you can just click on those footer icons. We don’t need anything on the utility bars we’ll just click on the Next button without selecting anything.
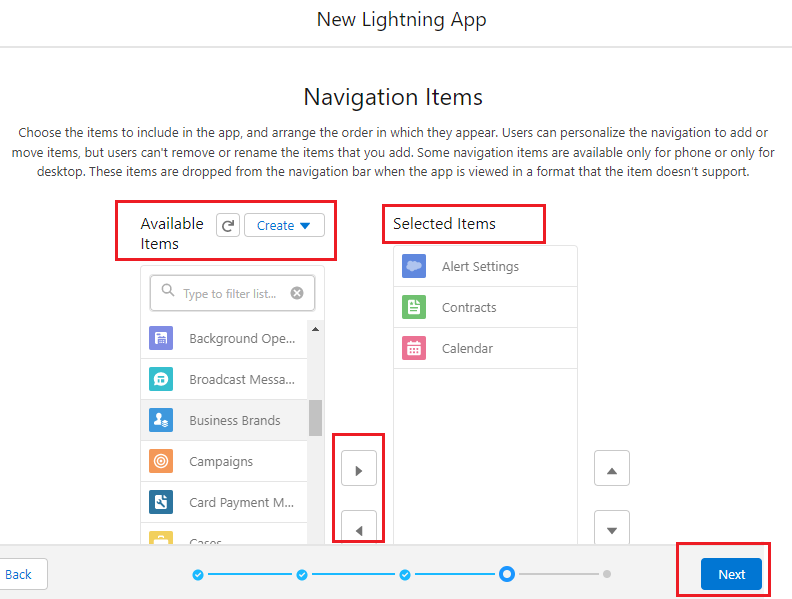
(7) Next is Navigation Items where we get the Available Items. Under available items what you see are all objects currently that are present in the system and if you want to use or leverage any of these available items you can just click on it and you can just move it to the Selected Items section and then press the Next button as shown below.
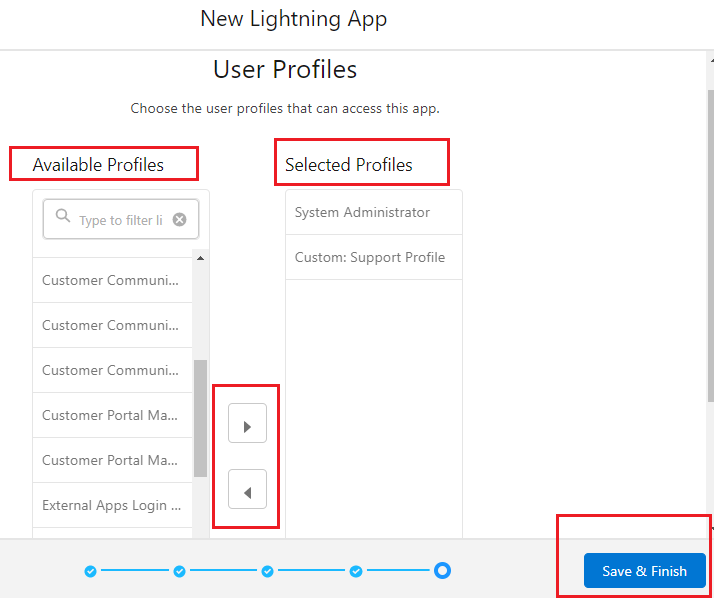
(8) Next section talks about the User Profiles i.e. what kind of profiles should this application be accessible too? We talked about how profiles control all the visibility so if we want a specific profile to have access to this particular lightning application all we will have to do is move that profile to the right side of the table. So I will just quickly go down below and here click on system administrator which is our current profile and add to the Selected Profiles. We can also move our custom: support profile to the Selected Profiles. So these two profiles will be able to access the lightning application that we are creating. Now click on the Save & Finish button.
(9) Now Lightning App is created as shown below.
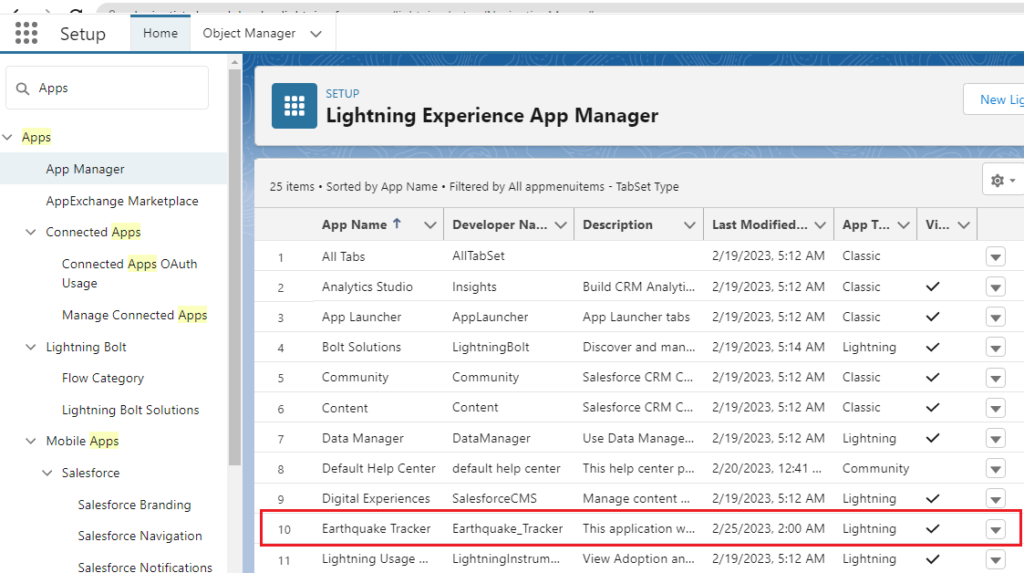
(10) If you want to edit this application simply click on the drop-down button as shown below.

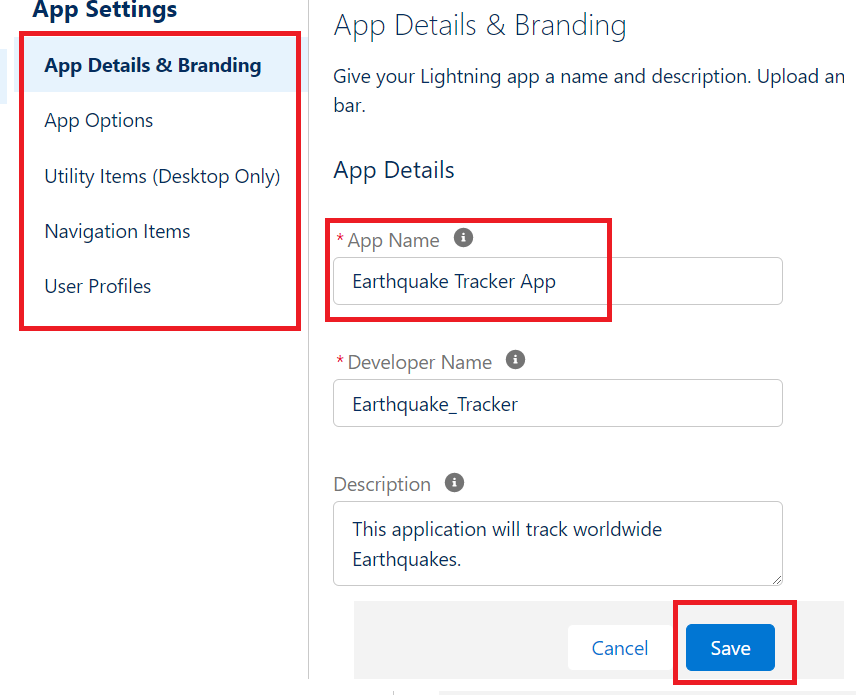
(11) For example we change the name of the app from Earthquake Tracker to Earthquake Tracker App and then click on the Save button as shown below.
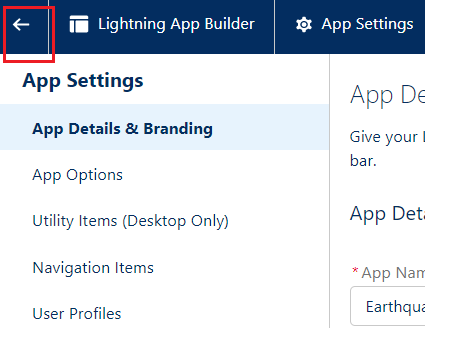
(12) Now we go back and see our app name has been changed as shown below.

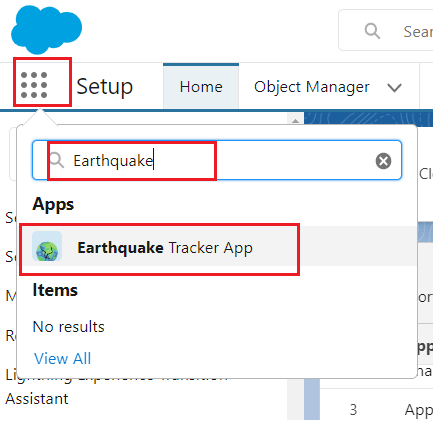
(13) Now go to the app launcher and search for the app that we have created as shown below.
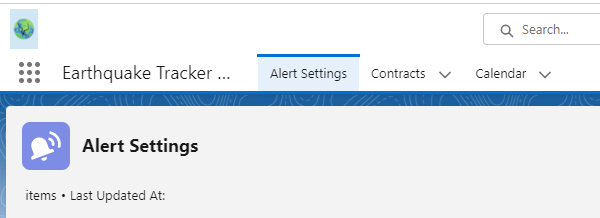
(14) If we click on the Earthquake Tracker App, our app will be opened as shown below.


Comments (No)